In this post, I want to talk about the steps involved in making a new backpack. As you'll see, ours is a pretty primitive process – we don't have patterning software or robotic cutting tables, so everything is done by hand.
There's usually a desired end use for a certain bag, so the first step is making a list of the main goals, desired functions, and design ideas for the purpose. The next step involves making a few sketches of the pack – drawing out the main functions, dimensions, and ideal hardware configurations with pencil and paper. Once I'm happy with the sketches looking at the bag from various angles, it's on to the material selection.
In my experience , using upcycled materials makes fabric selection easier – if we were ordering new fabrics for everything, I would get overloaded by the amount of options out there. Drawing from the stock of old sails and drysuit factory scrap material refines the selection down to a manageable level, and still affords me plenty of creative choices. After jotting down all the ideal materials for different panels, pockets, straps and padding, it's time to make some patterns.
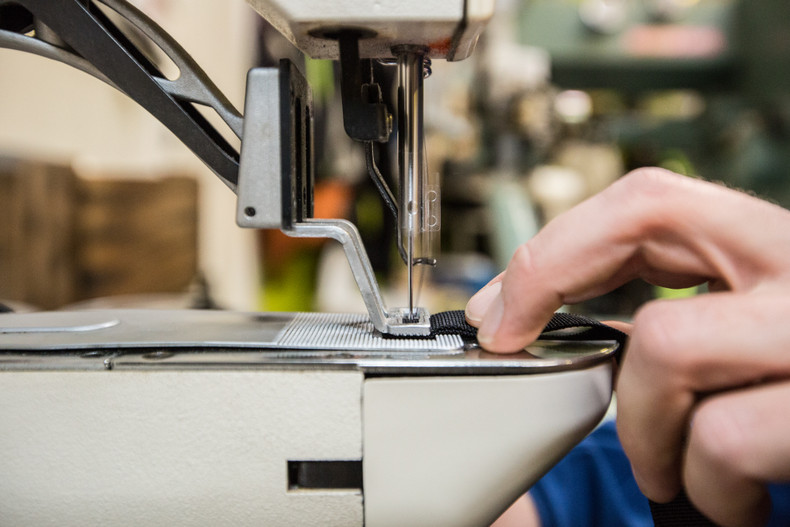
There are a few tools that come in handy for pattern-making - rulers, curved guides, and pattern paper are the essentials. I draw out the dimensions and curves for all the panels needed to make the first prototype, making sure the edges that will get sewn together match in length. We never really use fabric that has stretch to it, which would mean tweaking the patterns. Industrial sewing machines are tuned to sew a specific type of material together, and unlike home sewing machines, most only have one function (that they perform excellently). Our machines are tuned for light to medium weight, non stretchy fabrics – I'll write a separate blog post on what I use each machine for if folks are interested.
To make the first prototype, I draw out the pattern shapes on some cheap fabric – the first version I usually do without any webbing or hardware, just to make sure the it's the ideal shape and that all the seams line up correctly. Since I'm not a great pattern-maker and don't have easy access to precise software, it usually takes me a couple of refinements to get the shape right.
Once the first prototypes are looking ship-shape, it's time to make versions to test. It's important to use fabric, webbing and foam that's similar to what the end use materials will be, so it will behave in the same way. To minimize waste, testing packs are made without labels or any extras unnecessary for evaluating performance.
When I get the testing prototype finished, I get a better idea of the required lengths for every piece of webbing, binding tape, and mainly, how it feels on my back now that it's a 3-dimensional bag. If any important changes need to be made after trying it out, this is the time – we make sure it fits on various body types, that there are no obnoxious extras getting in the way of use, and we get positive reactions of the design from others – after all, we want people to see themselves using it.
Once the testing prototype has been used in field for a while by a few of our volunteers, we delve into the feedback. From there, I make the appropriate changes to the patterns to make a new prototype, and this cycle repeats itself until everyone is happy with the product - at which point it's just about ready for production!

